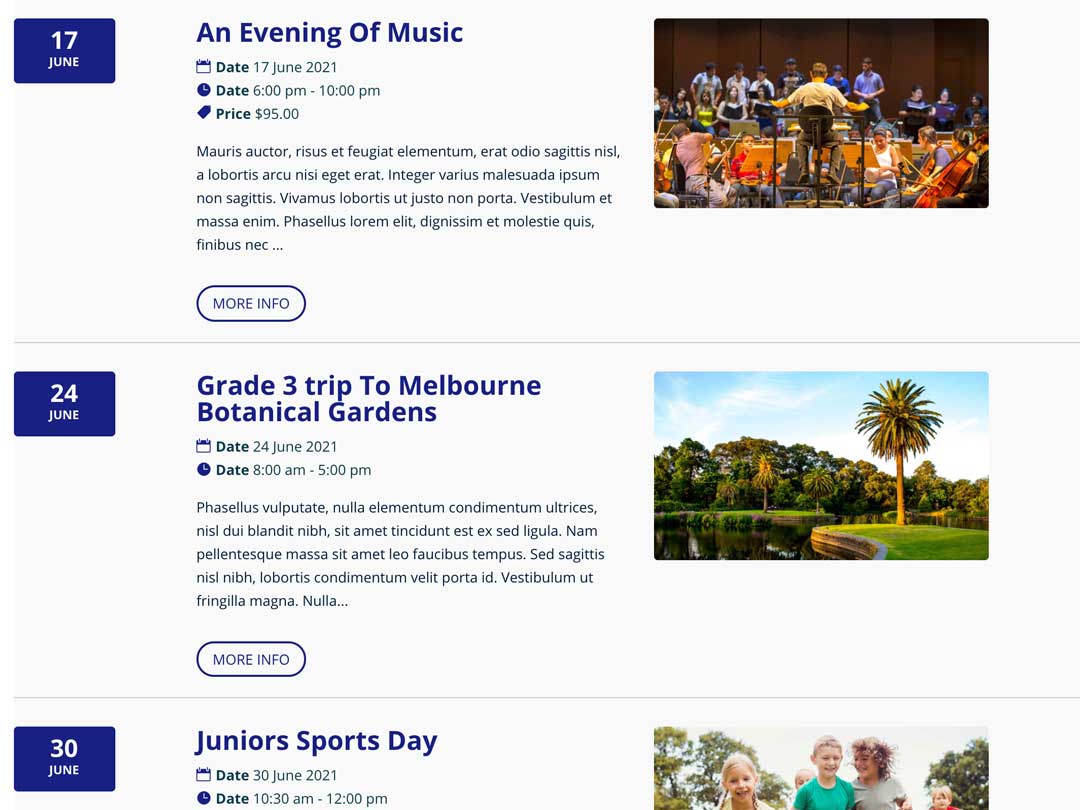
Easily create and display events on your School Site Press website.
Using the Events Calendar you are able create events and include venue and organiser information.
Preparing event information
Events need certain pieces of inforamtion which must be entered before you can create the event. Information such as:
- Event Organiser Information.
- Venue Information
- Event Categories.
- Tags.
Once the items listed above are in place you are ready to create an event.
Organisers
Event organisers can be within the school or external groups.
- From the Admin dashboard click Events / Organisers
- Click Add New to add an organiser.
- Title: The organiser name.
- Description: Description of the organiser.
- Phone: Organiser contact number.
- Website: Organiser website.
- Email: Organiser email address.
- Click Publish / Update to save the information.
Venues
Venues can be locations within your school or external locations such as local sports centres etc.
- From the Admin dashboard click Events / Venues
- Click Add New to add a venue.
- Title: The venue name.
- Description: Description of the venue.
- Address: Venue address.
- City: Venue city.
- Country: Venue country.
- State: Venue state.
- Postal Code: Venue postcode.
- Phone: Venue contact number.
- Website: Venue website.
- Show Map: Check √
- Show Map Link: Check√
- Click Publish / Update to save the information.
Event categories
You can organise your events into categories. We have created 4 categories for you:
- Art & Drama.
- Excusion.
- Music.
- Sport.
If you want to create more categories you can do that.
- From the Admin dashboard click Events / Event Categories
- Click Add New to add a category.
- Name: Enter the category name.
- Slug: Leave this blank as it is automatically created for you.
- Parent Event Category: Ignore.
- Description: you can ignore this or write one if you want to.
- Click Add New Event Category.
Tags
The tags listed for events are the same tags listed and used for posts and pages. Tags allow similar content to be grouped without having to create specific categories. For more information on how tags work see the Organise Content With Tags tutorial.
Event image
Prepare your event image.
Image size: 820px x 463px
Formatting your image: See Resize, Crop & Optimise Images Before Uploading tutorial.
Uploading your image
- From the Admin dashboard click Media / Library / .
- Select the Events Images folder and drag your event image onto the window to upload.
- Your images will then be uploaded.
Create an event
- From the Admin dashboard click Events / Add New
- Add the event title.
- Add event description.
- Set the event date, start & end time.
- Select a location: This displays a list of venues you entered earlier.
- Check show map and map link.
- Select an organiser: This displays a list of organisers you entered earlier.
- Enter the event website if the event has one.
- Add the event price so people know how much it will cost.
Adding a payment button to your event
If you want to add a payment button to your event, you will need to add two custom fields.
Scroll down to the Custom Fields / Add New Custom Field section.
Click Enter new.
Adding the payment page button link
- Add this name: payment_button_link
- For the value add the link of the page you want to link to. Example: https://schools.compass.education/
Adding the payment page button text
- Add this name: payment_button_text
- For the value add the button text. Example: Buy Tickets Here
Doing this will add a payment button to your event.
Right hand column
- Publish or set the date you want the event to be published.
- Add tags.
- Select the categories the event belongs to.
- Event options. You can ignore this or apply the settings you need.
- Featured Image: Set the event image.
- Click Publish / Update / Save Draft (depending on what you need).
Editing Exiting Events
- You can edit existing events or delete them.
- From the Admin dashboard click Events / Events
- If you trash an event, don’t forget to view the trash and then empty the trash.
0 Comments