Images – It’s important that you always resize, crop and optimise your images before you upload them to your website.
Resizing & optimising images before uploading to your website will ensure your website continues to load quickly for visitors. It’s worth noting that large images take up more disc space and also slow down the backup process too. So you can see the importance of this task.
You website uses the following image sizes.
- Fullwidth Slider (images & video): 1920px x 1080px.
- Video Size Used In Posts: 1280px by 720px.
- Sub-School Images: 630px x 360px.
- USP Images: 80px by 80px.
- Featured Images, News, Event & Gallery Images: 820px x 463px.
- Association Logos: 532px by 300px.
- Extra-Curricular Activity: 140px by 140px.
- Communication App Logos: width auto by 60px.
- Profile Images: 480px x 480px.
Resizing images using Pixlr
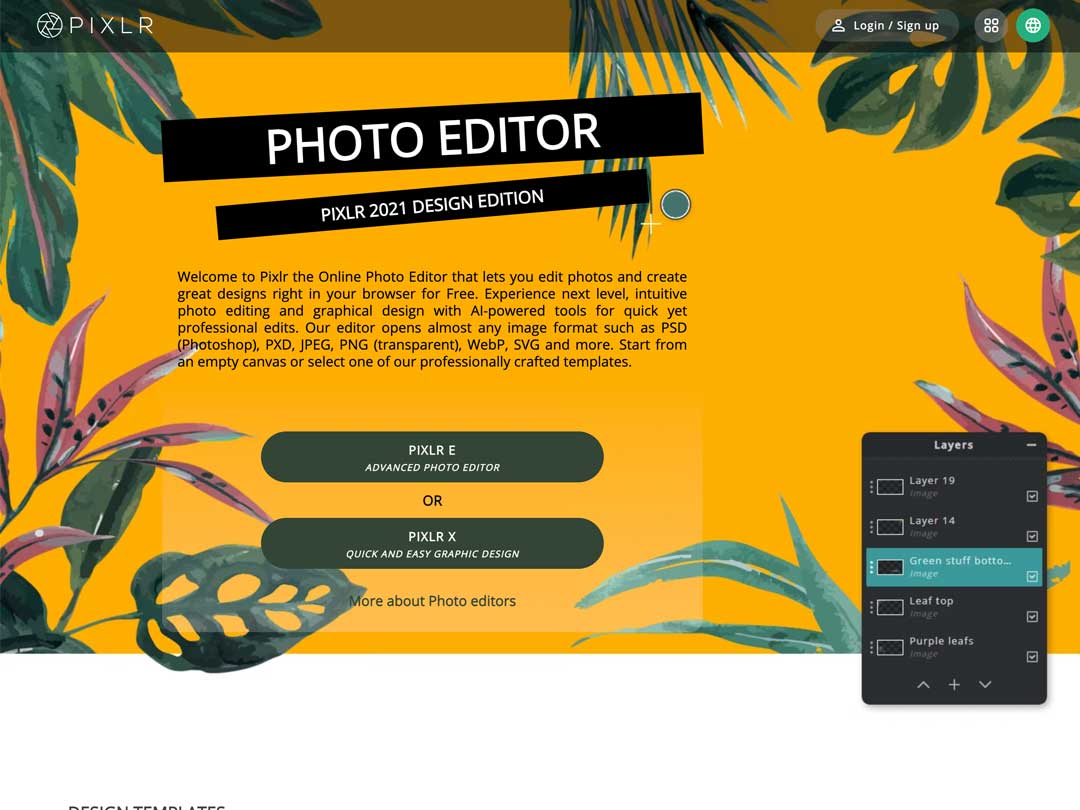
Unless you are familiar with Adobe Photoshop you will need to use an image editing program to resize your images. One of the best and free image editing programs online is Pixlr.com
- Go to https://pixlr.com/
- From the home screen select PIXLR E.
- In the next window click Open Image and select an image from your computer.
- Once the image has opened click Image / Image Size.
- Enter the dimensions you need. The minimum image size needs to be as big as its smallest dimension. We will crop the image to get the exact size.
- Next click the Crop icon in the toobar.
- Enter the correct dimenions and reposition the aperture. Click
- Enter or Return to crop the image.
- Next click File / Save.
- Enter an image title without spaces. Example: my-homepage-slider-01
- Select jpg as the image file type.
- Set Quality to MED / 60%
- Click Download and save to your computer.
Optimising images with TinyPNG
Optimising your images before uploading them allows us to reduce the file size of an image without loosing any quality. You won’t be able to see any difference in teh image itself, but the image file size will be much smaller and ensure your website continues to load quickly.
TinyPNG is another free online website that allows us to optimise images.
- Go to https://tinypng.com/
- Drag upto 20 images onto the upload window.
- TinyPNG will optimise your images automatically.
- When they are ready download and save your optimised images.
Uploading images to your website
Once your images have been resized and optimised, it’s time to upload them to your website.
VIDEO COMING SOON…
- Login to your website.
- From the Admin dashboard click Media / Library.
- Select the folder you want to upload the images to and then drag your images onto the window.
- Your images will then be uploaded.
Adding information to an image
After your images have been uploaded you need to apply information to each image. This information is used by search engines to understand what the image is. Doing this for every image helps give search engines a clearer understanding about your site and will help with SEO.
- In Media Library, click an image.
- Next you will see a settings box for the image.
- Add Alternative Text. This is a summary description about what the image is.
- Add a title for the image. Note: Titles are often shown by browsers when a person hovers over the image.
- Only add a caption if the image is to be used in a gallery where the captions are shown, otherwise you don’t need to add captions.
- Add a description for the image and include keywords.
Image information is saved automatically so just close the image when you are done.
0 Comments